
A hole-by-hole guide to Torrey Pines South Course
The 2025 Genesis Invitational heads to Torrey Pines South Course, one of the game’s most celebrated venues. With breathtaking ocean views and challenges that test every aspect of a player’s game, Torrey Pines sets the stage for legendary moments. Here’s a closer look at the course playing host to the 2025 tournament.
Torrey Pines GC (South Course)
Par: 72
Yardage: 7,765
HOLE 1: par 4, 451 yards
The first hole at Torrey Pines South Course demands accuracy right from the tee. A drive favoring the left side of the fairway opens a clean approach to a green guarded by bunkers on both sides. The subtle uphill slope of the green adds an extra layer of strategy, making club selection critical. Missing long creates a tricky challenge, so precision is key. A par here sets the tone for a great round ahead.
HOLE 2: par 4, 389 yards
This short yet challenging par 4 rewards accuracy over distance. Most players opt for a fairway wood or hybrid off the tee, aiming for the left side of the fairway to avoid trouble. A miss to the right lands you in a grove of Torrey Pines, leaving a blind and tricky approach. A well-placed tee shot sets up a short iron into a green guarded by two large bunkers, making precision key to securing par or better.

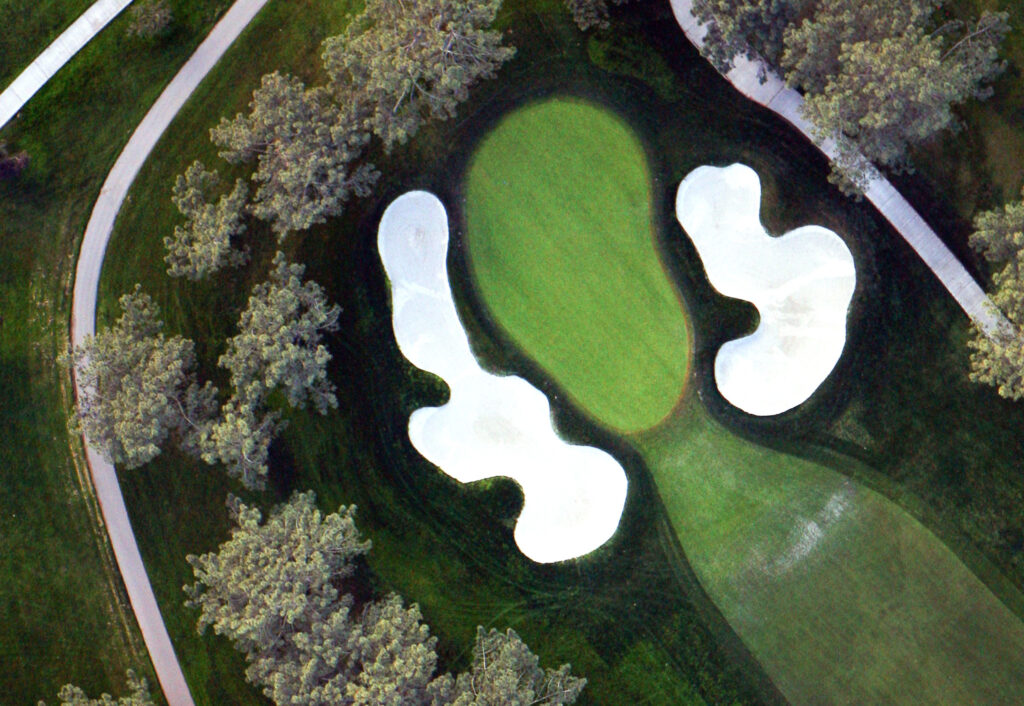
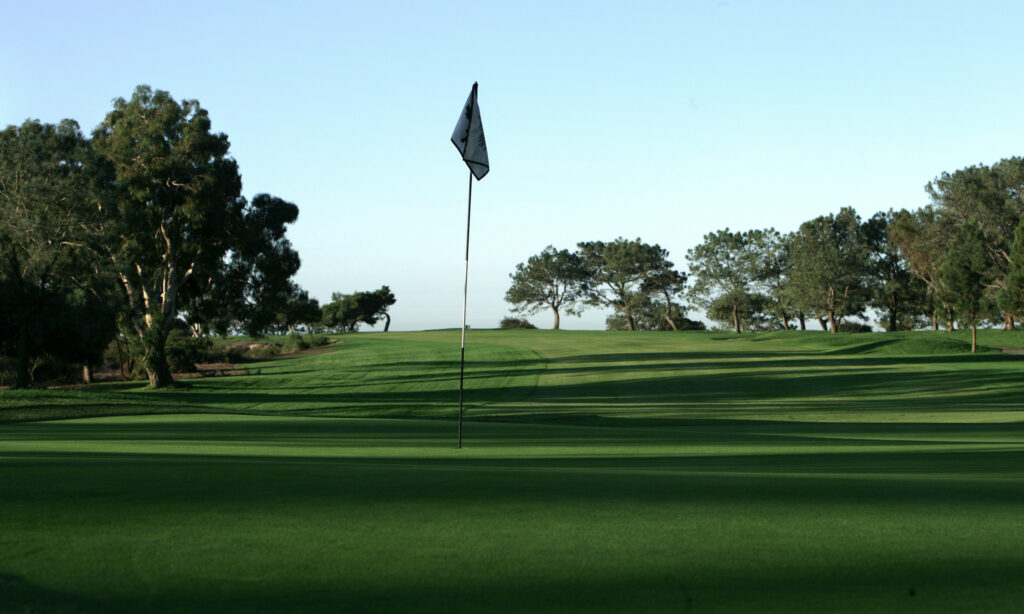
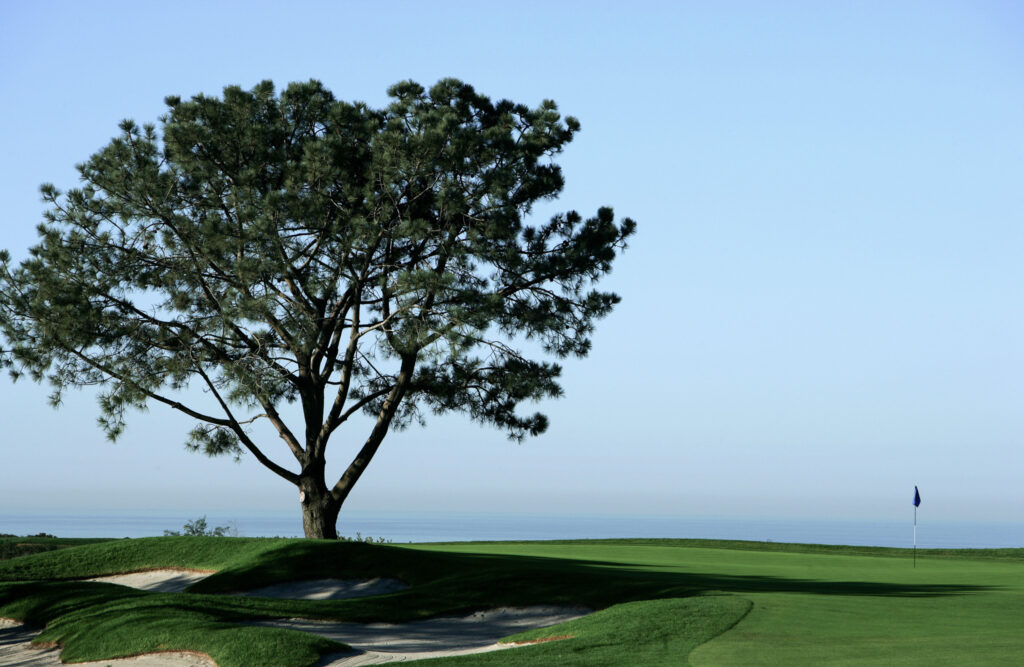
HOLE 3: par 3, 201 yards
With views of La Jolla, the signature par 3 on the South Course is as scenic as it is demanding. Club selection is critical here, as the hole plays downhill and can range from a short iron to a hybrid depending on the tee placement. Precision is rewarded, with a good tee shot finding the middle of a two-tiered green that slopes sharply from left to right. Missing long leads to a tough recovery, making distance control and strategy essential.
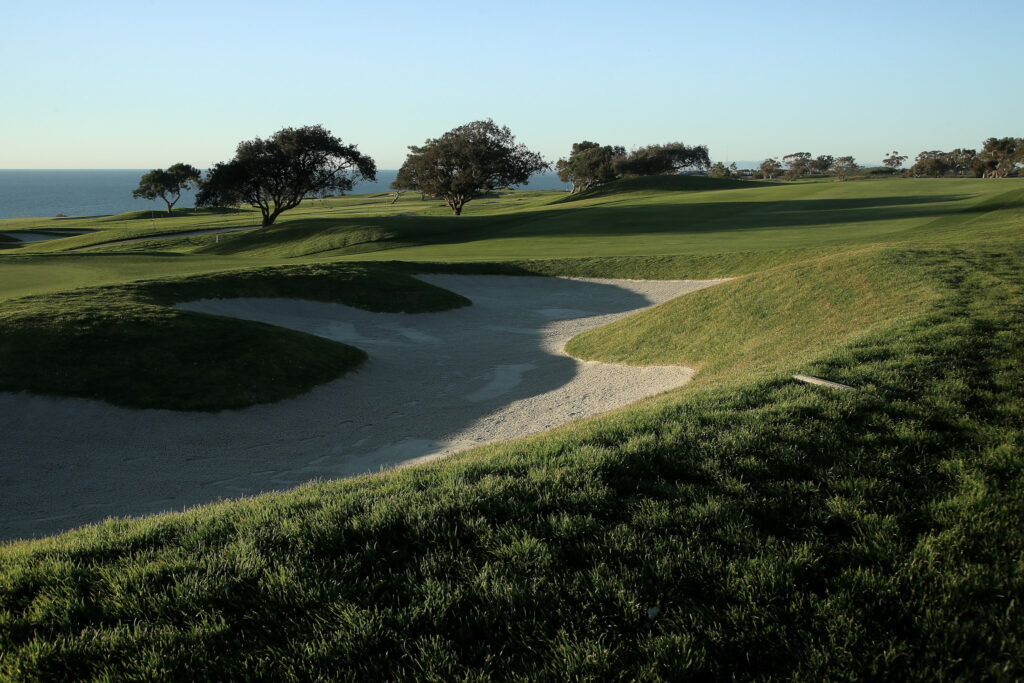
HOLE 4: par 4, 490 yards
This lengthy and challenging hole introduces Torrey Pines’ dramatic cliffs, ready to claim any shots hooked or pulled left. A well-placed tee shot is essential to avoid fairway bunkers on the right and set up a manageable approach. Aim your second shot to the right of the green, using the natural contours to guide the ball toward the center. With the left-side bunker guarding the green, precision and strategy are key to walking away with a hard-earned par.
HOLE 5: par 4, 454 yards
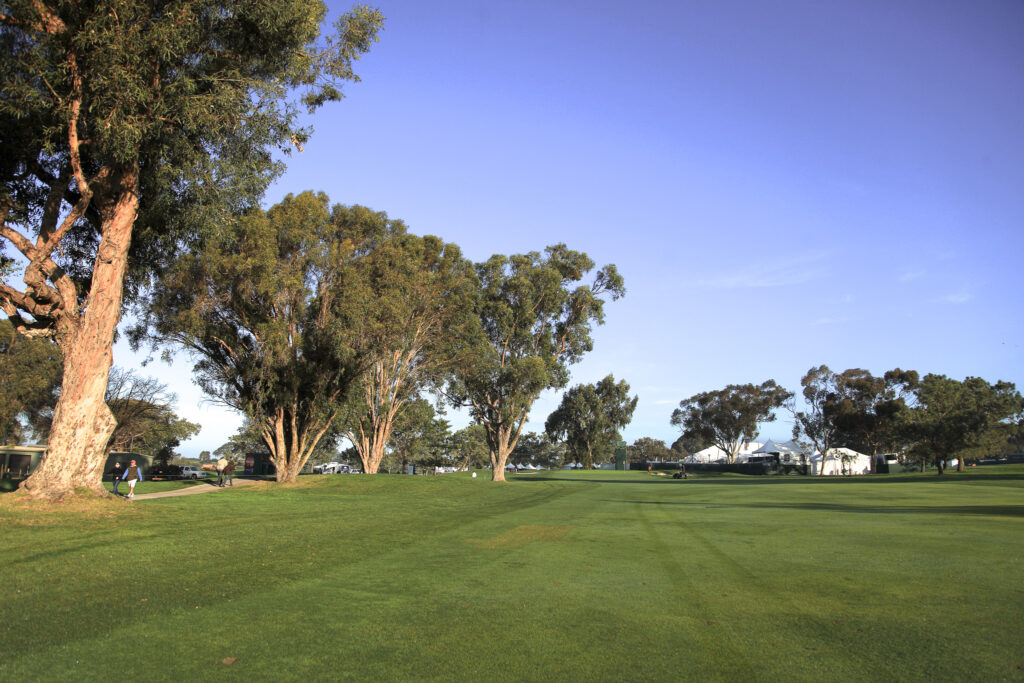
A strong tee shot that climbs past the rise and avoids the fairway bunkers on both sides sets up a clean look at the green. The approach demands accuracy, as two greenside bunkers are well-positioned to catch anything off target. Success here relies on solid execution and thoughtful shot placement.
HOLE 6: par 5, 564 yards
The first par 5 offers a welcome scoring opportunity after a challenging stretch of opening holes. Favor the right side of the dogleg off the tee to steer clear of the fairway bunkers on the left and potentially set up a chance to reach the green in two. For those laying up, a well-placed second shot leaves a wedge into the two-tiered green, which is protected by two bunkers. Strategic play and a steady approach are key to making the most of this hole.

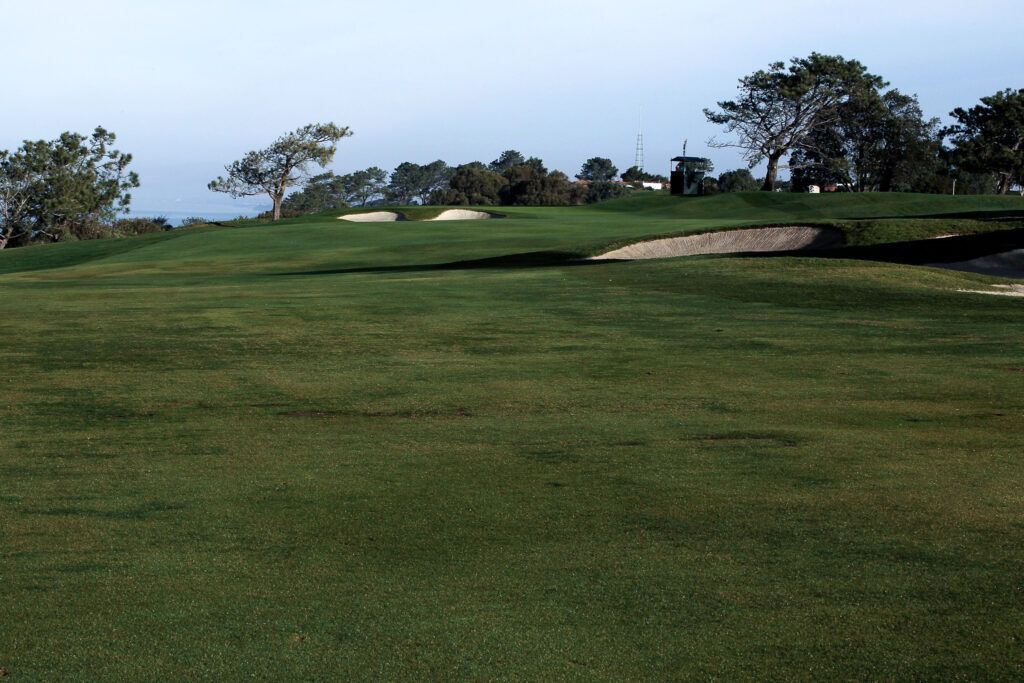
HOLE 7: par 4, 462 yards
This dogleg right challenges players to favor the left side off the tee, setting up the ideal angle to an elevated green that slopes sharply from back to front. The approach demands precision, with a large greenside bunker on the right and newly expanded collection areas around the green adding complexity to recovery shots. Avoid going long at all costs, as it leaves a difficult up-and-down.
HOLE 8: par 3, 177 yards
This uphill hole demands careful club selection. Add an extra club to clear the front bunker, which often sees plenty of action from misjudged approaches. Precision is key to finding the green and setting up a manageable putt.

HOLE 9: par 5, 615 yards
This straightaway par 5 encourages players to swing freely off the tee. While the longest hitters might take on the challenge of reaching the green in two, most will focus on finding the fairway to set up an aggressive layup and an accurate third shot. Six fairway bunkers and additional bunkers protecting the green demand smart shot placement to create a birdie opportunity.

HOLE 10: par 4, 454 yards
The back nine kicks off with a great birdie opportunity. A tee shot to the left-center of the fairway sets up a short iron into a sloping green, protected by bunkers on the front left and right. Precision on the approach is key to capitalizing on this relatively forgiving hole.
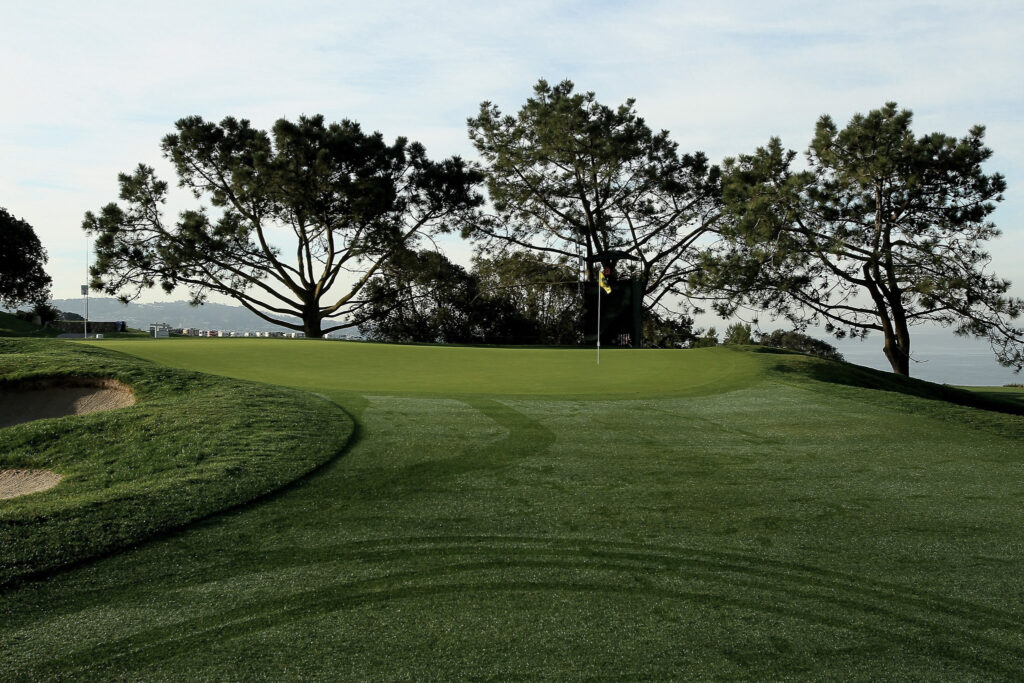
HOLE 11: par 3, 225 yards
This downhill hole may look shorter on the scorecard, but the prevailing wind often makes it play longer than expected. Club selection is critical to navigating the undulating green, which naturally filters shots from right to left. A well-struck tee shot is essential to avoid tricky recovery situations.

HOLE 12: par 4, 505 yards
This long hole calls for an aggressive tee shot to take full advantage of the generous fairway. Only a well-placed drive sets up a realistic chance of reaching the green in two. For those missing the green, the best leave is short, where the uphill chip provides the most manageable recovery on the deep, receptive green.

HOLE 13: par 5, 621 yards
A newly added back tee adds extra challenge to this hole, requiring a drive of at least 240 yards to clear the canyon. For those daring to go for the green in two, the elevated target demands a 260-yard carry, with bunkers and thick rough guarding the approach. Strategic decision-making is key on this risk-reward opportunity.
HOLE 14: par 4, 437 yards
The canyon hugging the left side of the fairway forces players to favor the safer right side, often opting for a fairway wood off the tee. While there are no fairway bunkers, tightly spaced eucalyptus trees make accuracy essential. The green, which slopes sharply from right to left, presents its toughest pin position in the back right. Shots that miss long risk finding hazards.
HOLE 15: par 4, 480 yards
Shot shapers face a tough test on this tightly lined hole, with eucalyptus trees guarding both sides of the narrow fairway. The green, perched slightly uphill, slopes sharply from right to left, making approach shots particularly tricky. Those attacking from the right will need to land softly to avoid a challenging recovery and ensure a chance to putt for their next shot.
HOLE 16: par 3, 227 yards
TThis hole’s multiple teeing grounds offer distinct challenges. From the shorter tee, players must contend with two greenside bunkers, though the prevailing breeze can assist those aiming right. The longer tee opens up the front of the green but introduces a tougher angle, often complicated by the wind. Adapting to the conditions is key to navigating this dynamic hole.

HOLE 17: par 4, 443 yards
A well-executed high draw off the tee avoids the fairway bunkers on the right and sets up a middle-to-short-iron approach. The elevated green is wide but severely undulating, demanding precision on approach shots to navigate its slopes. Front bunkers add another layer of defense, while the canyon on the left challenges even the most confident drives.
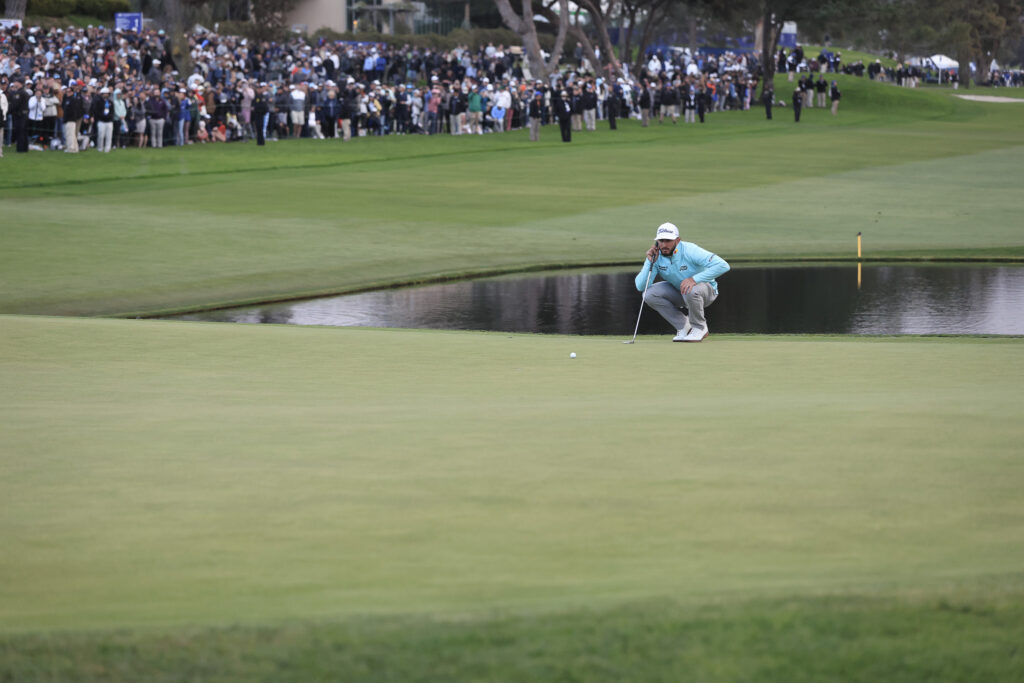
HOLE 18: par 5, 570 yards
The iconic closing hole offers a risk-reward finale where anything can happen. The fairway twists slightly, leading to a green guarded by “Devlin’s Billabong,” a pond infamous for its role in high-stakes drama. Players chasing glory often attempt to reach the green in two, daring to take on the water hazard. Even those laying up must navigate the risk of spinning a wedge back into the pond. The 18th has decided many champions, and its challenges ensure an unforgettable finish.